
Vim is my favourite editor, it has been for many years. Over 10 years ago, in May 2010, I wrote a blog post about visual block editing in Vim. Much to my surprise that article is still read by people every month to this very day. Since its still relevant I have updated it and placed it here on my current blog.
This article assumes that you are familiar with the basics of Vim. If you are not yet familiar with vim then the vimtutor is a good place to start, you run it by executing “vimtutor” instead of “vim”. With that said, on to visual block editing!
To activate visual block mode you press the key combination CTRL+v while in normal mode. Once you are in visual block mode you can select a block of text by using the standard movement keys (h, j, k, l or the arrow keys).
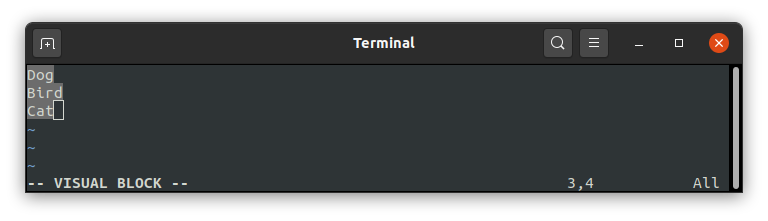
As you can see in the above screenshot the selected text will be highlighted, how this looks depends on where you are running Vim and which colour scheme you are using.
You can perform various operations on visual blocks, in this article I will describe how you can prepend and append text to a block. For more possibilities take a look at the help (by typing “:help v” in Vim).
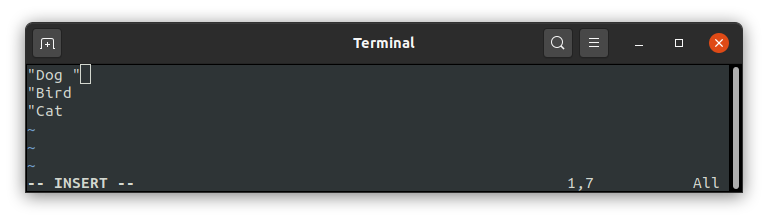
After selecting your block you can press SHIFT+i to go to insert mode, type something you want to insert before every line of the selected block. While you are typing you will only see what you typed on one line.

Next hit the ESC key to apply your change. This also takes you go to normal mode.

To append instead of prepending you press SHIFT+a instead of SHIFT+i, the rest is exactly the same.
Like before the ESC key will apply your changes and send you back to normal mode.
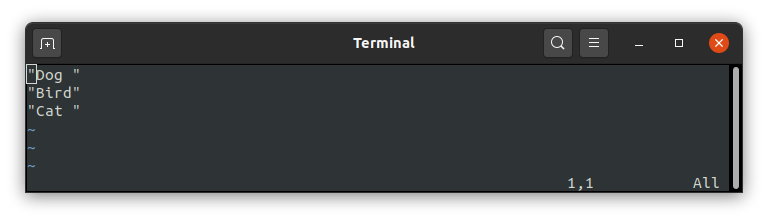
As you can see in the screenshots a white space is appended to the words Dog and Cat, this happened because these words are shorter than the longest word in the block: Bird. If you don’t want extra white space appended to lines that are shorter there is a way to do that too, after activating visual block mode type $ (on a QWERTY keyboard you type this by hitting the key combination SHIFT+4), this will tell Vim to select until the end of the line. You can then use the j or k keys (or the down and up arrows) to select the lines that you want to highlight. Do not use the h and l keys (or the left and right arrow keys) as this will cancel out the effect of entering $.
When selecting the text you do not directly see any difference on your screen:

The difference will become apparent when you activate insert mode through SHIFT+a though:

As in the previous example the ESC key will apply your changes and send you back to normal mode once again.

If you want to expand your Vim skills further I can highly recommend that you buy Drew Neil‘s Practical Vim, it is my favourite book on Vim and well worth it’s price in my opinion.
And with that we have come to the end on this little article about visual block editing! Happy Vimming and until next time!
One Reply to “Vim tip: Visual block editing”
Comments are closed.